
Automated Follow-up Emails (Easiest Way to Set Up in 2024)
In this article, we will show you how to set up automated follow-up emails. Simply follow the process below!
Depending on where you have your lead data, Lido has a few built-in ways to import this data so you can begin automatically sending emails from your spreadsheet.
Setting Up Automated Follow-up Emails to Clients through Gmail with Lido
Below we outline the steps on how you can send an initial welcome email and an automatic email follow-up for clients:
1. Add Client Data to Lido
Before you can send reminders, you need to input client details into Lido. If you do not have a Lido account yet, sign up for free at: https://www.lido.app/go/signup
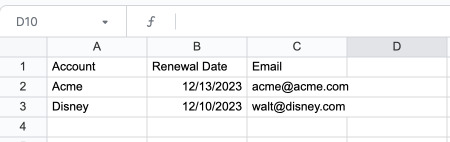
Lido functions like an enhanced spreadsheet that helps automate tasks by linking data directly to emails. To begin, enter the details such as client names, the dates reminders are due, and the specific messages you want to send. If this data is already organized in a Google Sheet, move to step 2. Otherwise, create a table with each row representing a unique reminder for a client. This table should have a column containing the email addresses for each client.
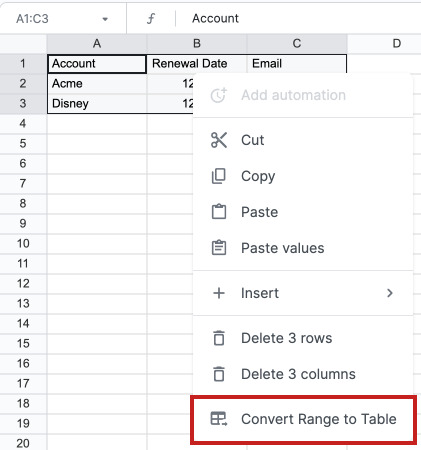
Once your data is formatted, right-click the selection and choose "Convert Table from Range". Save your named table and proceed to the next step.
2. (Optional) Connect Your Google Sheet to Lido
Follow these steps:
- Create a new Lido file
- Click on 'Connect Data' then select 'Google Sheets.'
- Insert the URL of the Google Sheet from Step 1. You will need to sign in to a Google account that has access to this sheet.
- Choose the specific columns you wish to import into Lido; they will be automatically selected by default.
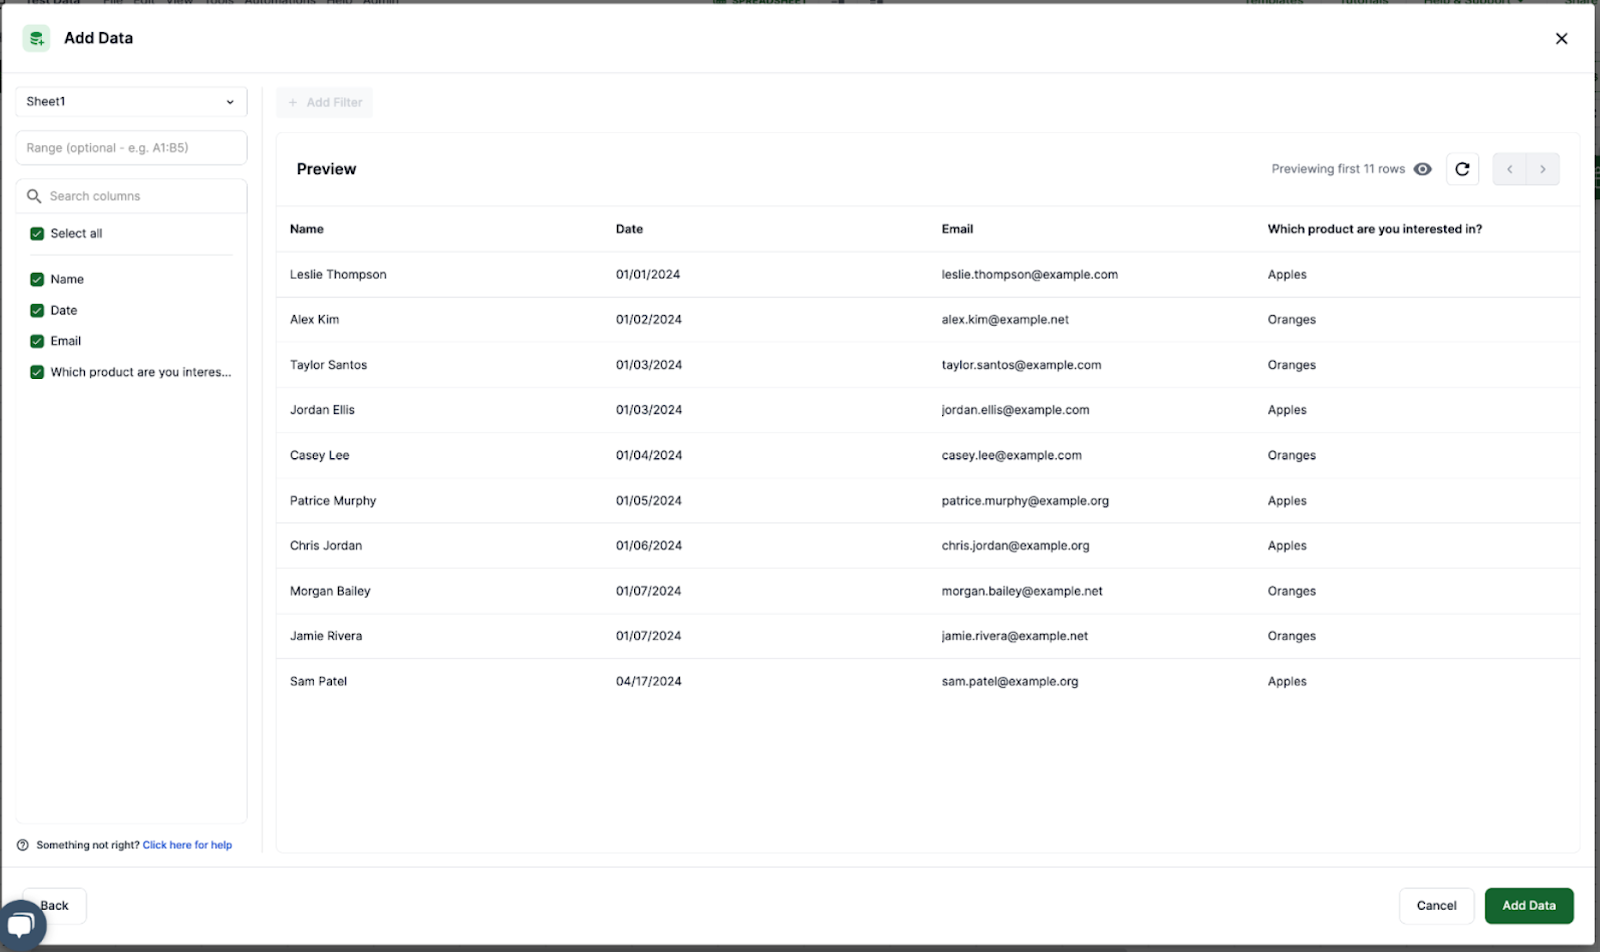
Click Add Data. This will create a Lido table of your Google Form responses.

3. Create Response Email Templates
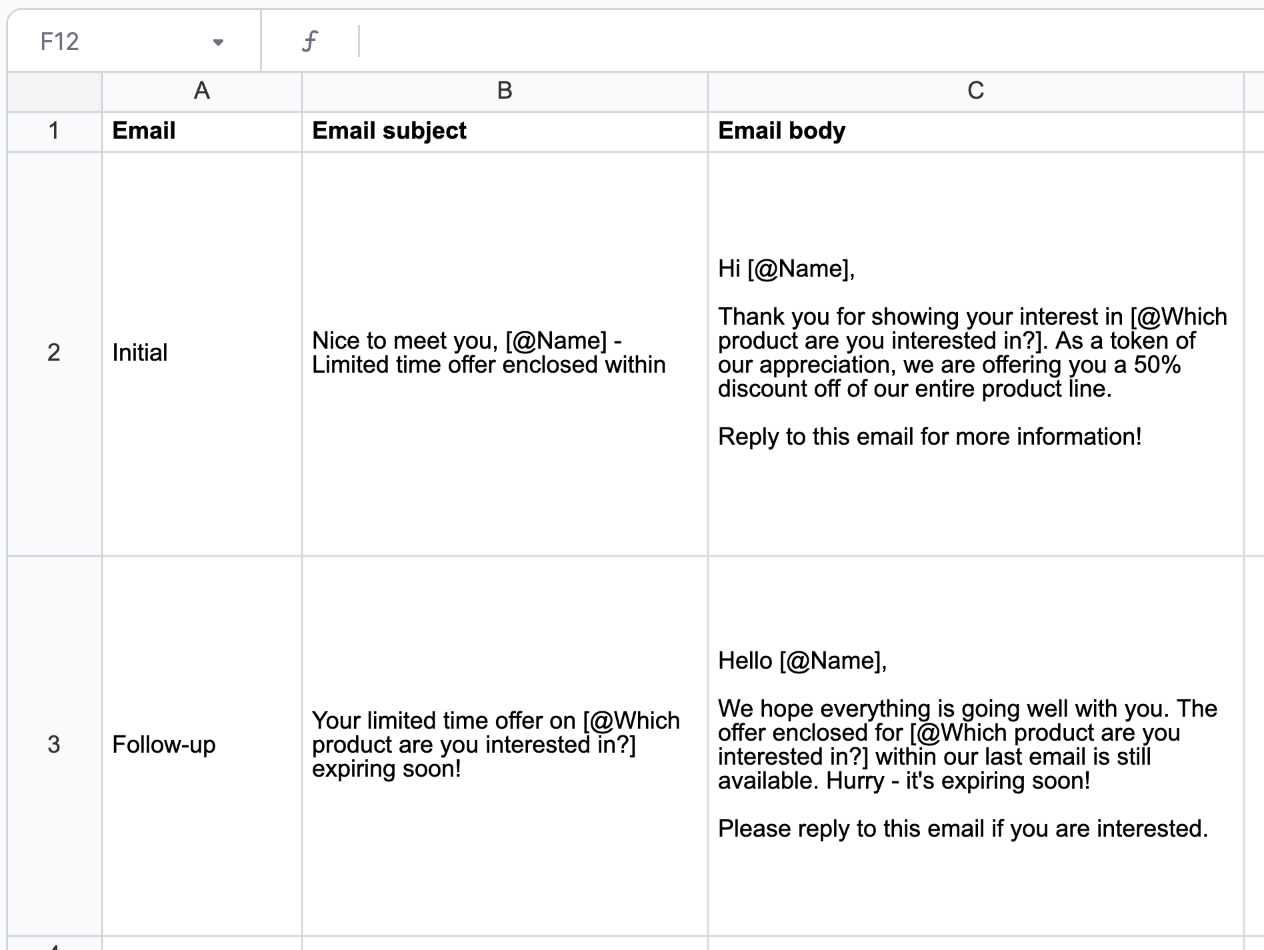
Go to a fresh worksheet. We will write our email templates in this new sheet. You can use table columns as email variables like so: [@Column]. Write out the body and subject for both the initial and follow-up emails.
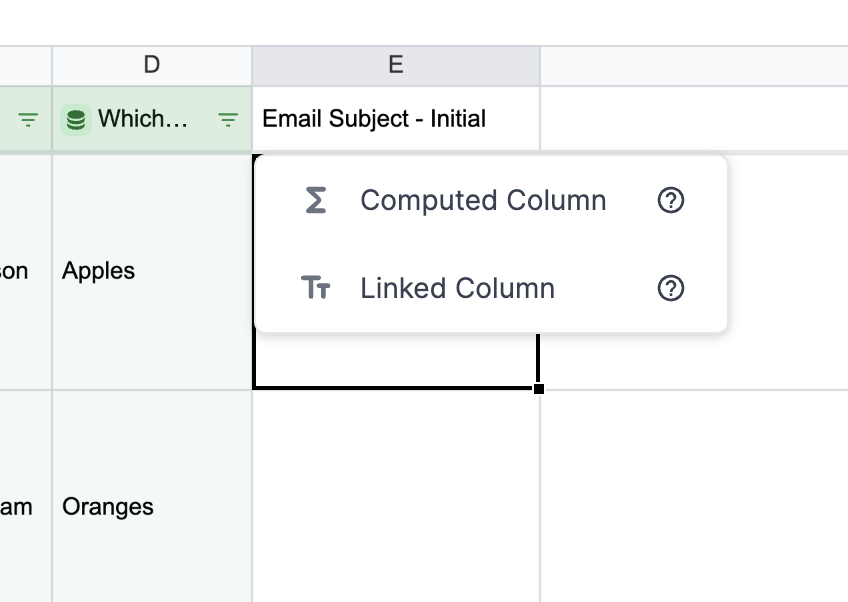
4. Create Dynamic Email Content
To change the email content based on our spreadsheet data, we are going to create a computed column. This is a new column in Lido that applies the same spreadsheet formula to every row in a table automatically as your table grows and changes. Type a column name in the first row of a cell next to your table (cell F1 in this example) to create a new column, and set its type to Computed Column.
Inside of this computed column, we are going to use the STRINGTEMPLATE formula to replace the variable placeholders from the prior step with the actual content of each row. The formula looks like this:
=STRINGTEMPLATE(“template_cell_location”)
For instance, our template cell for the email subject is in Templates!$B$1, so the formula for cell F2 in the computed column would be:
```=STRINGTEMPLATE(Templates!$B$2)```
When submitted, our table now looks like this. Notice the dynamic replacement of the [@Name] variable in every row.

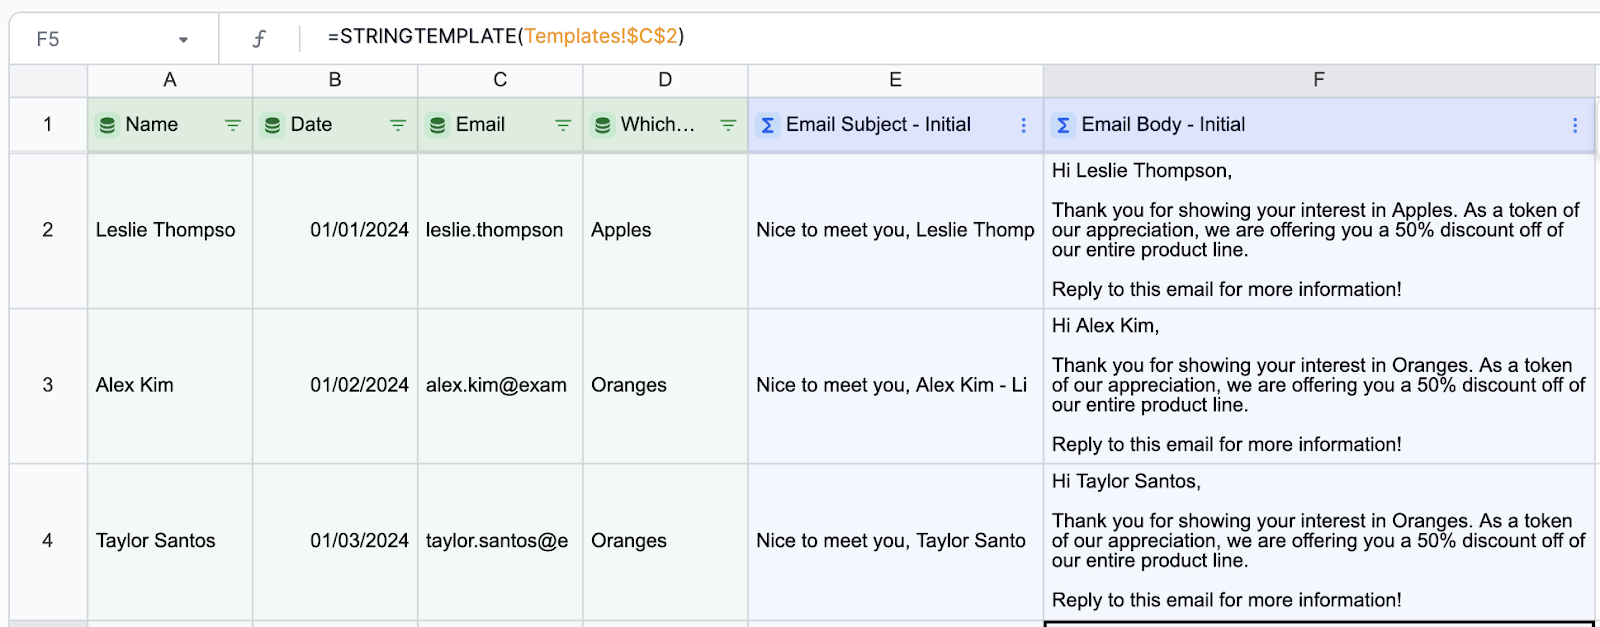
Repeat these actions to make another dynamic computed column for the email body. Begin by creating a new computed column and inputting:
```=STRINGTEMPLATE(Templates!$C$2)```
Make sure to adjust “template_cell" in this formula to reflect your specific template cell location, and remember to use $ to fix the cell reference, ensuring consistency across all rows.
You should now have a table that looks like this:
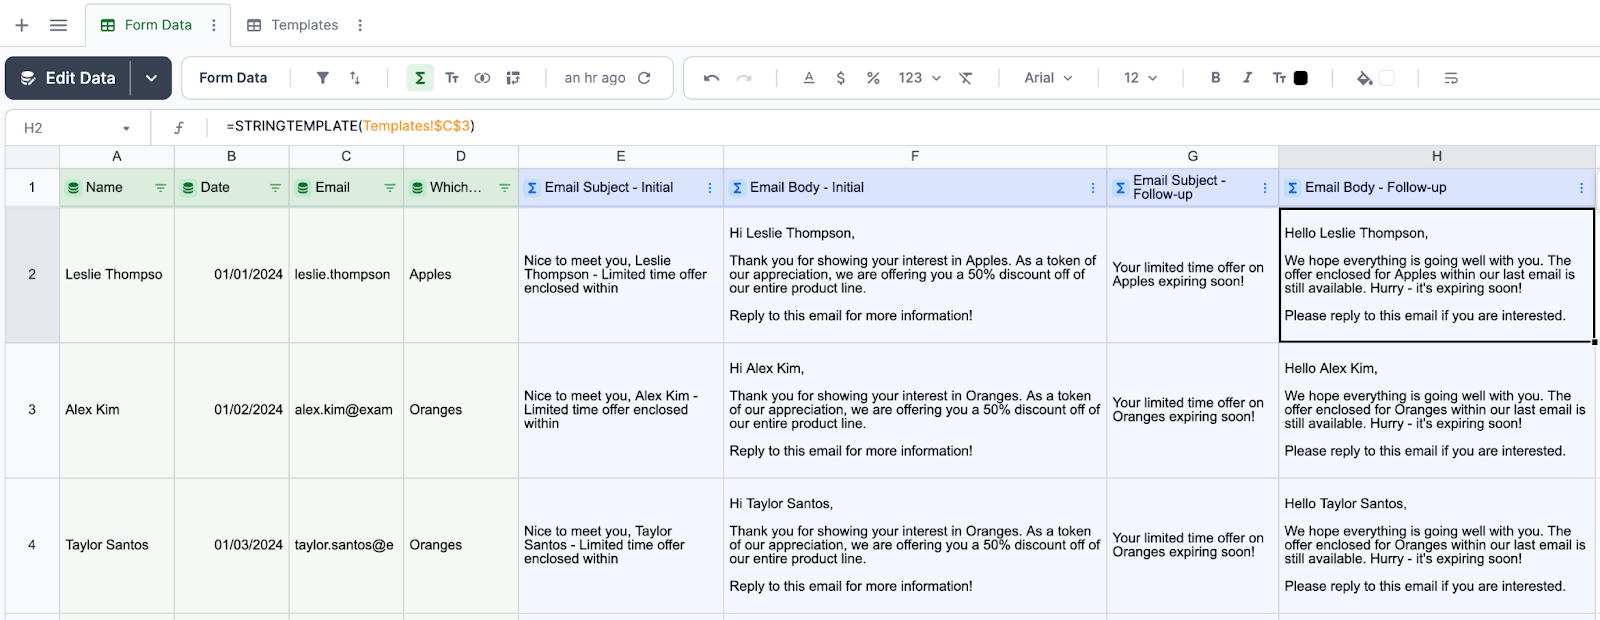
Repeat this step for the follow-up emails, making two new columns and using the STRINGTEMPLATE formula referencing the cells containing your templates. After you’re done, your spreadsheet should look like this:
6. Add SENDGMAIL Formula
We're now ready to use the SENDGMAIL formula. This is an Action formula in Lido, which means that it only runs (e.g. sends an email) when it is explicitly triggered, either manually or via an automation. We’re going to start with the initial email, and then we’re going to do the same thing for the follow-up email.
The SENDGMAIL formula is structured as follows:
```=SENDGMAIL(<sender-credential>, “recipient@example.com”, “subject”, “body”, “status”)```
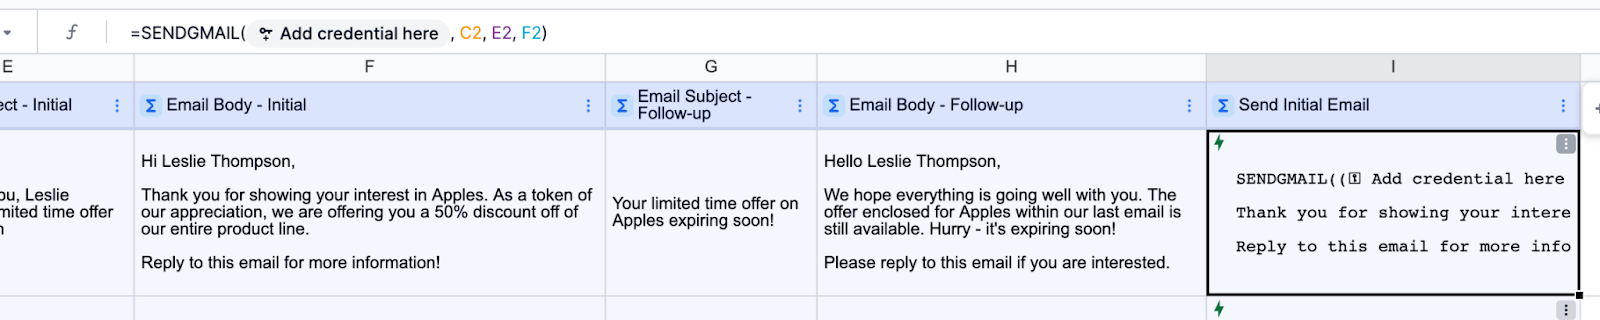
To set this up, add another computed column labeled “Send Initial Email” in column I. Then, enter this formula in cell I2:
```=SENDGMAIL(<sender-credential>, C2, E2, F2)```
Where:
Here, <sender-credential> represents the sending email address. You will need to connect to a Gmail account the first time you use this formula in Lido.
C2 is the recipient email. This may need to change based on how your data is structured.
E2 is the Email subject
F2 is the Email body
To test this action, right click on a SENDGMAIL formula and select “Run action.”
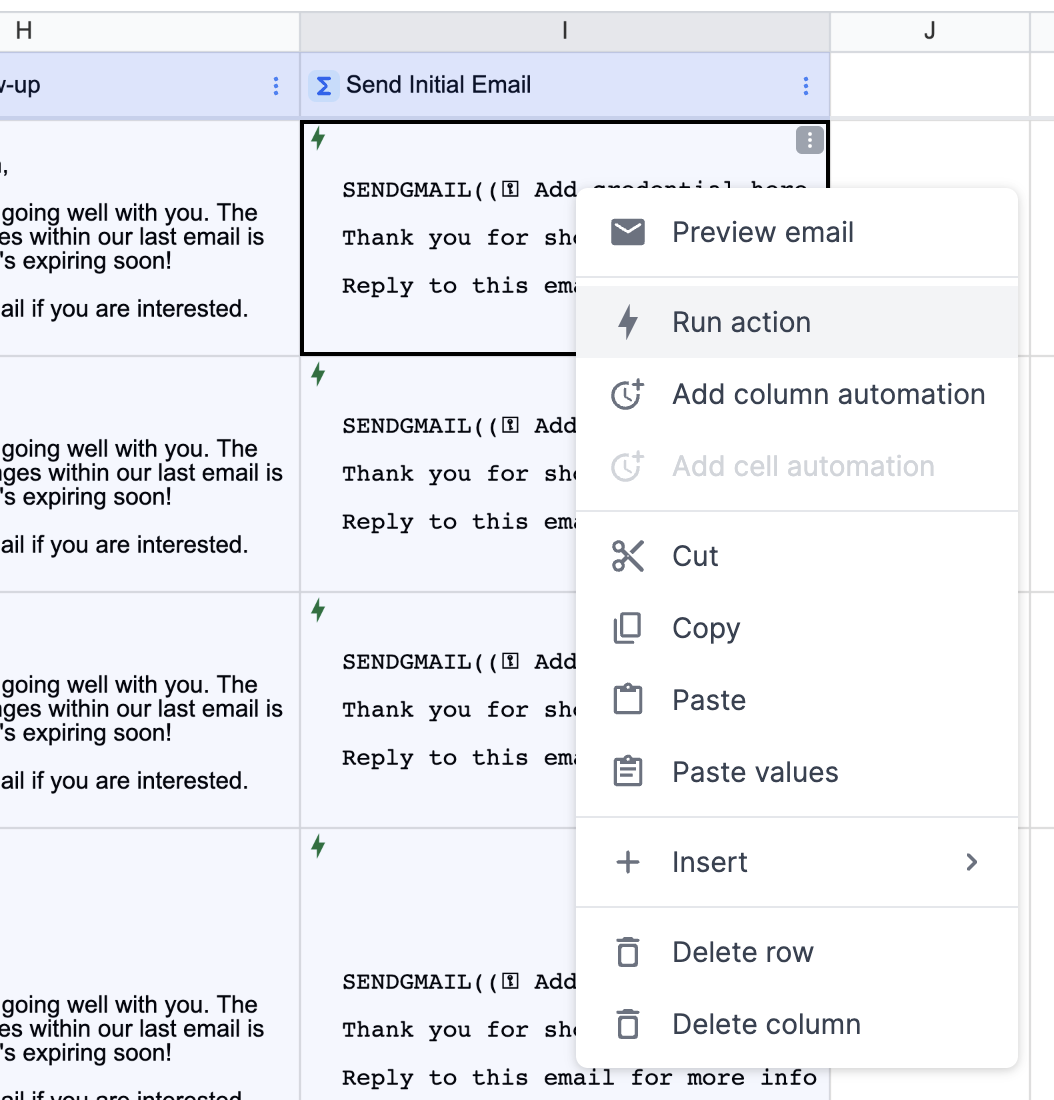
You will be prompted to login to the sender email the first time. After the email is sent, you'll notice a "success" message briefly appear in the cell. The cell you designated as the status cell (J2 in this example) will also be updated to display "success."

7. Add Logic so Initial Emails Only Send Once
Our next goal is to adjust our logic to ensure each lead only receives one initial email. To do this, we will wrap our SENDGMAIL formula in an IF statement. Use the following formula:
```=IF(B2=TODAY(), SENDGMAIL(<sender-credential>, C2, E2, F2))```
The formula works as follows:
If the date the lead filled out your form is equal to the send date, then display the SENDGMAIL formula, otherwise display FALSE.
After this modification, the SENDGMAIL formula will only be sent on a single day.
8. Set up the follow-up email
We’re going to do something similar for the follow-up email. However, we need to add an extra step to make sure the email is sent in the future.
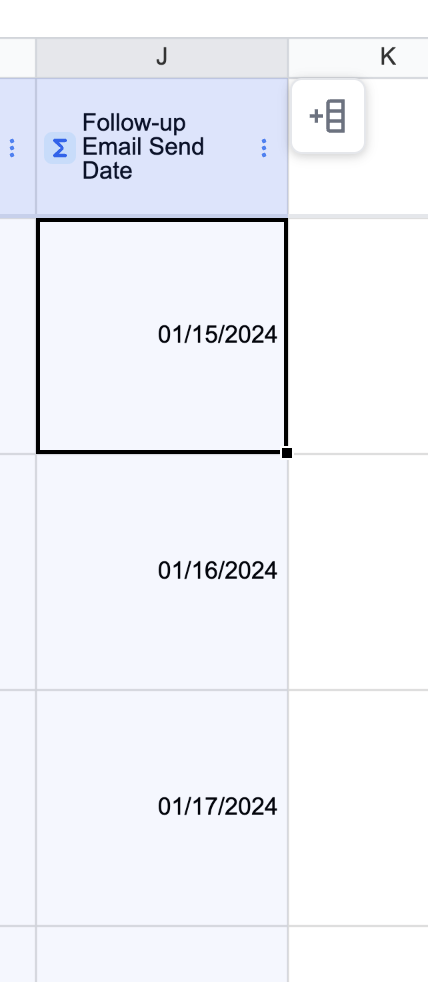
Make a new Computed Column called “Follow-up Email Send Date”. Then, insert the following formula:
```=B2+14```
In the example spreadsheet, B2 points to the “Date” column from the original spreadsheet. If your Date column is in a different column, you will need to modify this formula to reflect that location.
This formula makes the follow-up email be sent 14 days (2 weeks) after the initial email is sent. If you would like to change the time, you can modify the formula accordingly. For example, for 10 days after the first email, the formula would be:
```=B2+10```
If done properly, you should be able to see the new send dates:
Now, create a SENDGMAIL formula similar to the one for the initial email, but use the follow-up columns and send date instead. In the example spreadsheet, the formula is as follows:
```=IF(J2=TODAY(), SENDGMAIL(<sender-credential>, C2, G2, H2))```
Where:
C2 is the recipient email. This may need to change based on how your data is structured.
G2 is the Email subject
H2 is the Email body
J2 is the new column we just created that contains the send dates.
If done properly, your new columns should look like this:

9. Automate the emails

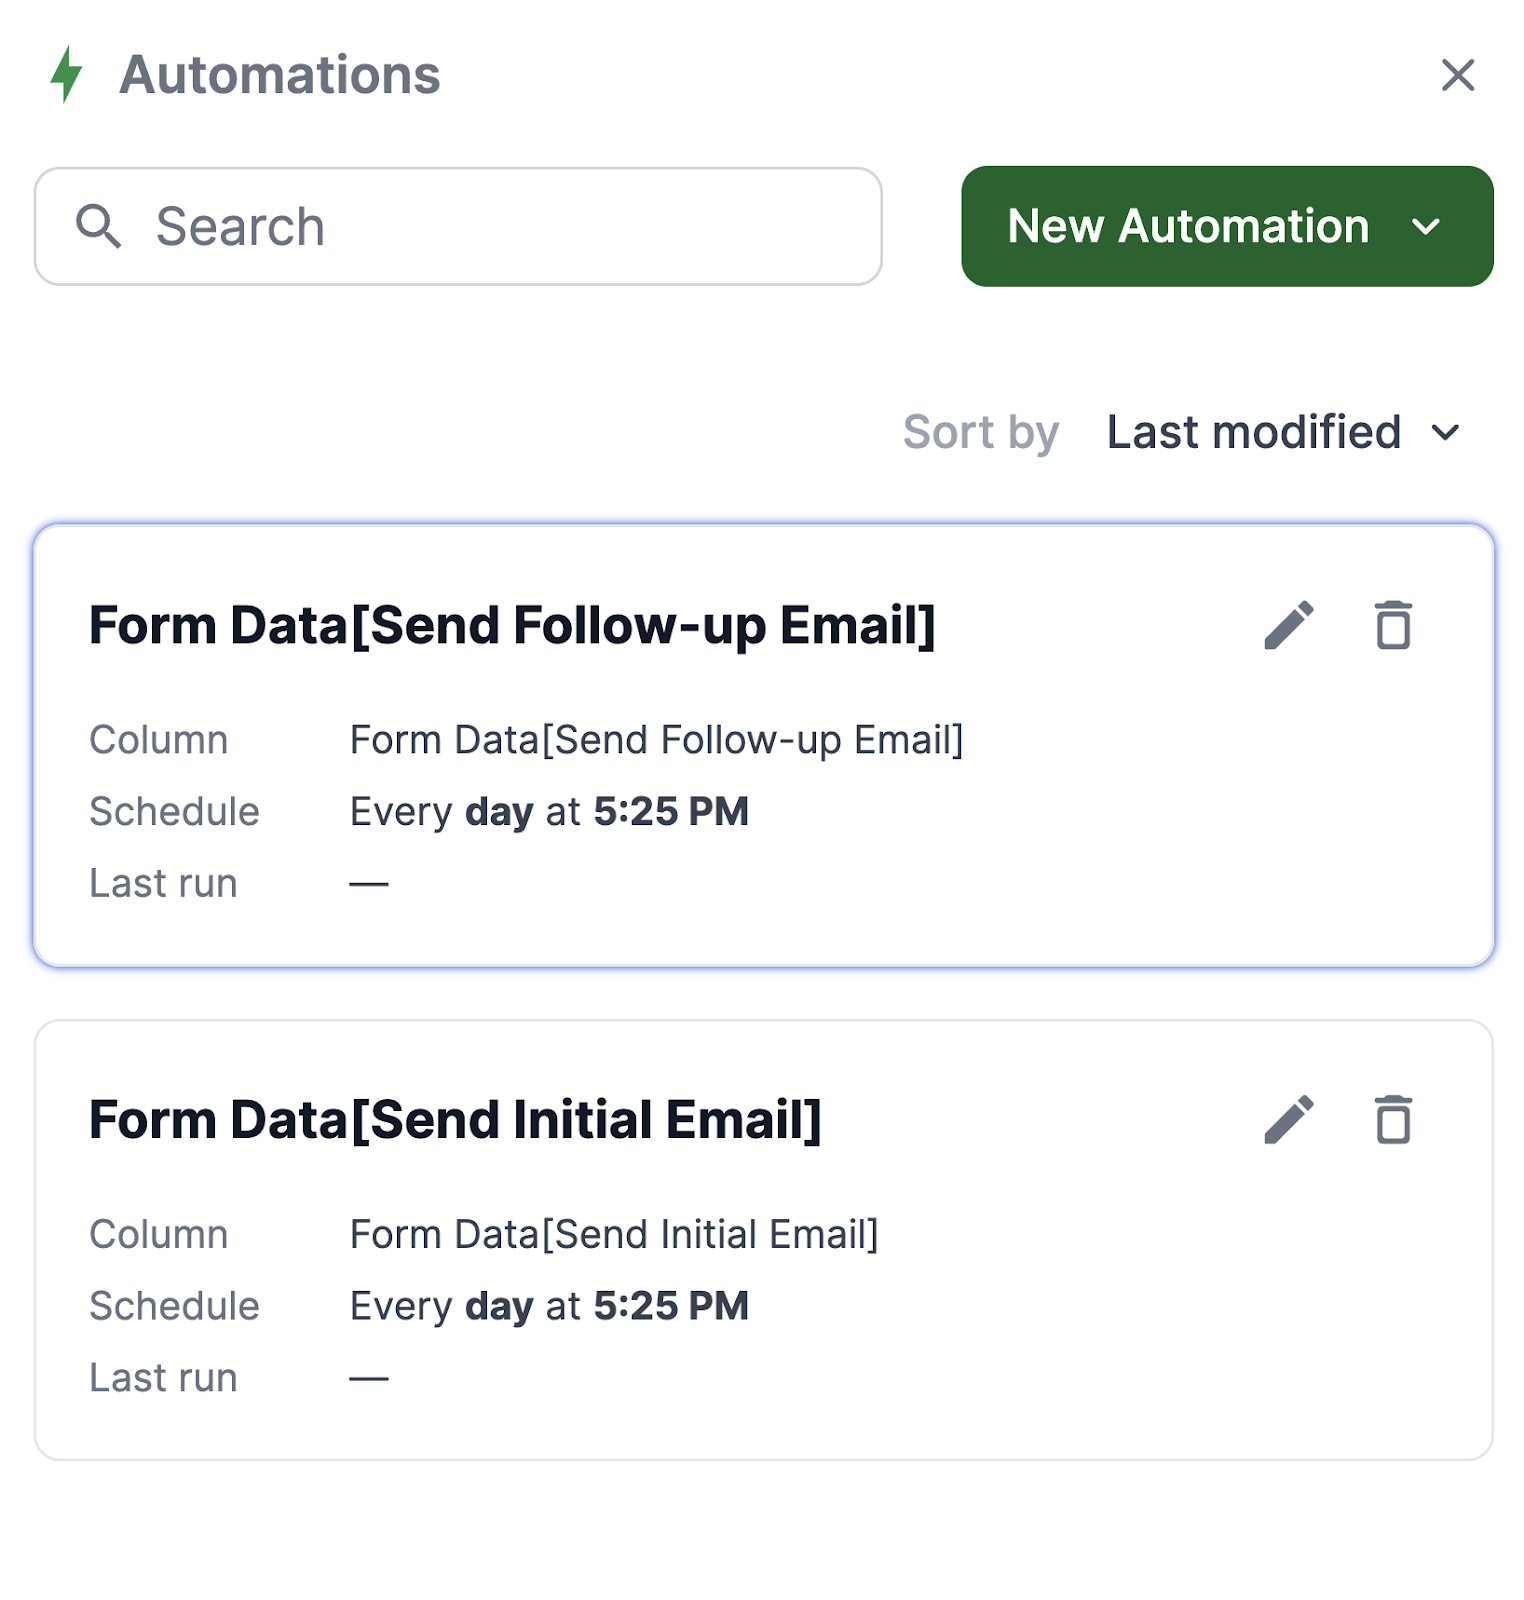
This will open the automation panel. In this screen, you will need to select an interval for how frequently you want Lido to check for updates.
Every time an automation runs, Lido first fetches the newest data from your Google Sheet, which is connected to your Google Form, then triggers all of the SENDGMAIL actions in the column.
Since the follow-up email is sent 14 days after the initial email, we will use an increment of 1 day. Select the time you would like the emails to get sent, and then hit “Save”.

Your automation is now running! When you receive a new form response, Lido will automatically send an email based on the content of that response.
Now, you will need to repeat the process for your follow-up email. Right click on “Send Follow-up Email”, select “Run column on a schedule”, choose “1 Days” and the time of your choice as the schedule, then hit “Save”. Once done, the drawer should look like this:
We hope that you now understand how to set up automated follow-up emails to leads from your spreadsheet. Check out some of our other articles for even more tutorials!
If you enjoyed this article, you might also like our article on how to set up an automated follow up system.