In this article, we will walk through how to automatically send Google Form responses to Slack. Google Forms doesn’t have a built-in Slack integration. However, we can set up custom notifications when a new response is submitted with Google Sheets and Lido in just a few minutes without coding.
This is a native functionality in Google Forms.
Google Sheets does not have a native Slack integration, so we’ll need to use Lido to send our Slack messages. If you don’t already have a Lido account, you can create a free one at www.lido.app/go/signup
Create a new file. Then click on Connect Data. Select Google Sheets and paste in the URL that you created in Step 1. You will be asked to connect to a Google account that has access to the Google Sheet.
You should now see this screen. Select all of the columns that you need for your Slack message content, then click Add Data.

This creates a Table in Lido. The data is live connected, so any updates to the Google Sheets (like a new Form submission) will automatically pull in to Lido.

Now let’s draft our Slack message. Go to a different tab then type out your message. You can use [@Column] to reference different columns as variables in the message. For example:

Tip: use cmd + enter on a mac or alt + enter on a PC to insert line breaks.
Now we will create dynamic Slack messages for each row in our table.
Create a new computed column. This is a column type that allows you to input a formula that is then applied to every row in the table.

The formula that we will use to generate our dynamic messages is =STRINGTEMPLATE(). Inside the formula, you want to reference the message cell that you created in Step 3.
```=STRINGTEMPLATE(Sheet1!$B$1)```
Make sure that you anchor your template cell using $. This is to ensure that every row in the column references the same cell. Your spreadsheet should now look like this.

We’re going to use Lido’s proprietary SENDSLACK formula. The formula structure is:
=SENDSLACK(workspace, channel, message, [status])
It’s important to enter in the correct workspace and channel names since otherwise the formula won’t work.
The workspace name is located in the upper left corner of your Slack app. In this example, I will pass in “Lido” for the first argument in the formula.

Next, we need to find our channel or ID name.
To send to a channel (like #random), simply pass through the name of the channel without the # (e.g. “random”).
To send to a private conversation, you need to locate the channel ID. In Slack, click on the name of the conversation in the top left and then copy the Channel ID in the pop up.

Once you have these two pieces of information we are ready to write our formula.
Create a new computed column in your table.
Then, enter the formula:
```=SENDSLACK(“workspace”, “channel”, E2)```
This formula will send the message in cell E2 to the specified workspace and channel when triggered. If you’re copying and pasting this formula into your file, make sure to change the references to line up with how your file is structured!
Your sheet should now look like this:

Now we’ll send a test message to make sure everything is working. Right click on a SENDSLACK formula and select Run action.

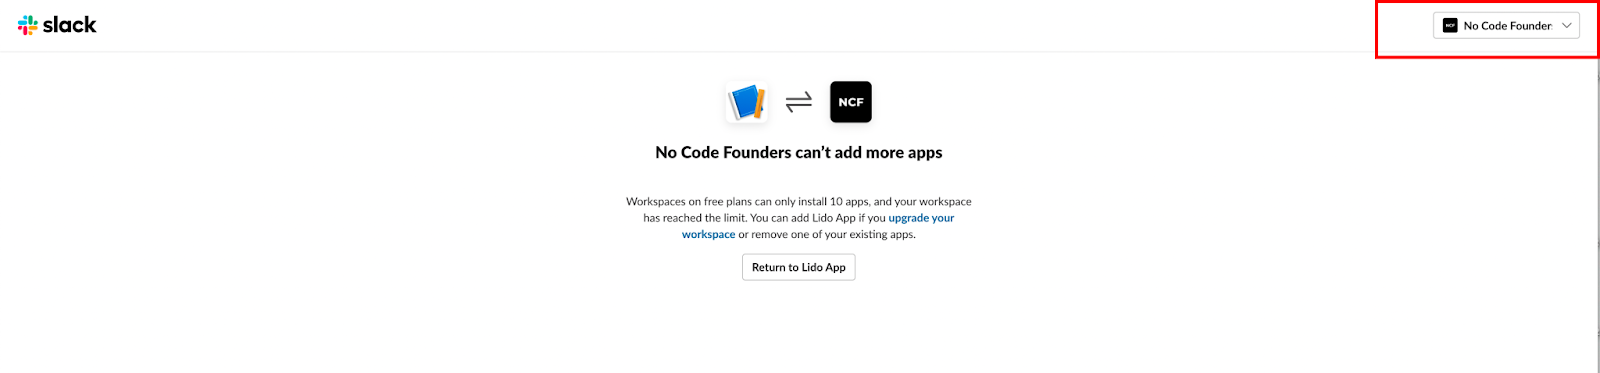
You will be prompted to connect your Slack account to Lido. If you are a member of multiple Slack workspaces, make sure that you connect the right one. You can switch between workspaces in the upper right corner of this screen:
Now we need to configure Lido to trigger our SENDSLACK formulas for us. With Lido automations you can pick a column to check on a schedule. All action formulas that are present in the column will automatically be triggered when the automation runs.
Since we only want our SENDSLACK messages to be triggered once when the new row is added, we need to add a condition to check whether a message has already been sent.
Create a new linked column for “Status”.

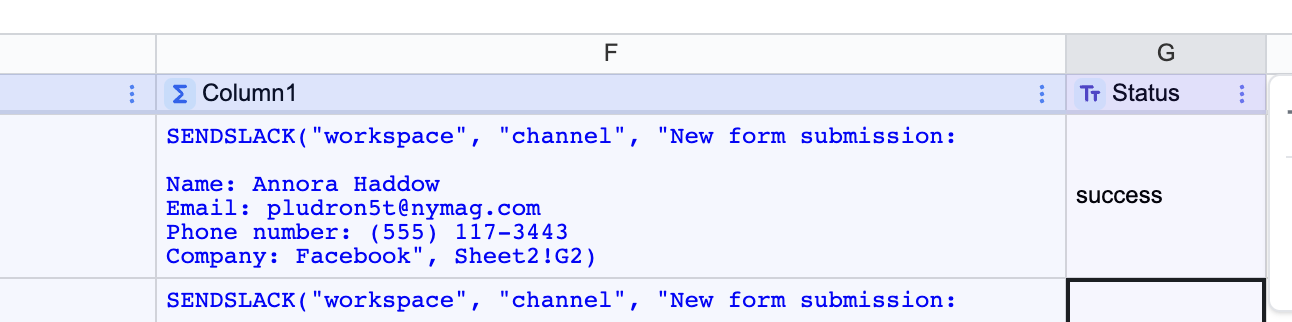
Next, we will update our SENDSLACK formula to update the Status column with whether the Slack message has successfully sent.
```=SENDSLACK(“workspace”, “channel”, E2, G2)```
Now, status will update cell G2, which is the location of our Status column. Remember to update the formulas for your actual file if you’re copy / pasting.
Right click and select Run action again. Notice how “success” will appear in the status column.
Now we need to update the formula in column F so that SENDSLACK only appears when a message has not been sent yet. We can use a simple IF statement to do this:
```=IF(G2<>”success”, SENDSLACK(“workspace”, “channel”, E2, G2))```
If you are following along, remember to replace G2 with the location of your Status column and E2 with the location of your message.
Now the SENDSLACK formula only appears when a message has not been sent:

Finally, we are ready to automate column F. Click in the column header and select Run column on a schedule.

This will open the Automation panel. Select a frequency for how often you want to check for updates and click Save.

Your automation is now all set up! Every automation interval, Lido will fetch the latest data from the connected Google Sheet and Google Form, see if there are any Slack messages to send, and trigger them automatically.